在对图片数据处理时,将对应的标签信息与图片上一起可视化,是检查数据的一种不错手段.
这里主要包含两种方法是,一种是基于 OpenCV 库,其可以将英文字符显示到图片,但不能显示中文字符;另一种是采用 PIL(Python Imaging Library) 库,可以实现中文字符在图片上的显示.
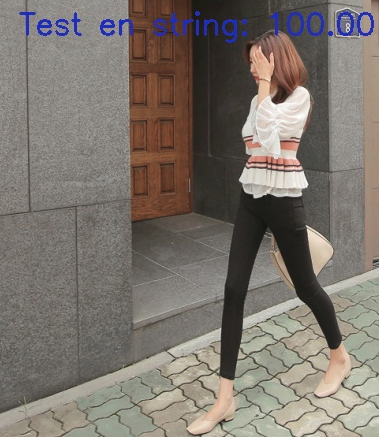
1. 基于 OpenCV 的英文字符在图片的显示
import cv2

img = cv2.imread("test.jpg")
# img_rgb = cv2.cvtColor(img, cv2.COLOR_BGR2RGB)
height, width = img.shape[0], img.shape[1]

# top_left, bottom_right = (20, 100), (500, 300)
# img_box = cv2.rectangle(image,
#                         tuple(top_left),
#                         tuple(bottom_right),
#                         (255, 0, 0),
#                         6)
template = "{}: {:.2f}"
test_en_str = "Test en string"
test_image_id = 100
s = template.format(test_en_str, test_image_id)
cv2.putText(img, s, (200, 300), cv2.FONT_HERSHEY_SIMPLEX, 1, (205, 38, 38), 2)
cv2.imshow("Vis en string on the image.", img)
cv2.waitKey()
cv2.imwrite("test_en_str.jpg",img)
如:
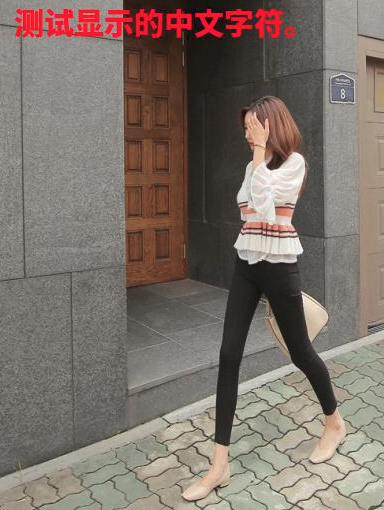
2. 基于 PIL 的中文字符在图片的显示
PIL库需要依赖于 FreeType 字体引擎库.
FreeType 库是一个开源免费的高质量,且可移植的字体引擎,提供了访问多种字体格式文件的统一接口.
在 Ubuntu 系统中,可以通过 locate xxx命令查找 .ttc 字体,一般保存在 /usr/share/fonts/opentype/noto/ 路径. 如:
locate NotoSansCJK-Black.ttc
# 输出:/usr/share/fonts/opentype/noto/NotoSansCJK-Black.ttc
中文字符在图片上的可视化实现:
from PIL import Image, ImageDraw, ImageFont

img_pil = Image.open("/home/hgf/Pictures/image_test/0062pOG9ly1fjhqobbvxej30ob0rob29.jpg")

font = ImageFont.truetype('NotoSansCJK-Black.ttc', 30) # 字体及字体大小
fillColor = (255, 0, 0) # 字体颜色
position = (200, 200) # 文字输出位置

zh_str = "测试显示的中文字符。"
if not isinstance(zh_str, unicode):
    zh_str = zh_str.decode('utf8')

draw = ImageDraw.Draw(img_pil)
draw.text(position, zh_str, font=font, fill=fillColor)
img_pil.show()
# img_pil.save("test_zh_str.jpg","jpeg")
如:
3. OpenCV 与 PIL.Image 图像格式相互转换
Caffe - 图片数据格式处理
import cv2
from PIL import Image
import numpy

## PIL.Image --> OpenCV
img_pil = Image.open("test.jpg")
img_pil.show()
img_cv2 = cv2.cvtColor(numpy.asarray(img_pil),cv2.COLOR_RGB2BGR)
cv2.imshow("OpenCV",img_cv2)
cv2.waitKey()

## OpenCV --> PIL.Image
img_cv2 = cv2.imread("test.jpg")
cv2.imshow("OpenCV",img_cv2)
img_pil = Image.fromarray(cv2.cvtColor(img_cv2,cv2.COLOR_BGR2RGB))
img_pil.show()
cv2.waitKey()
因此,如果想要采用 OpenCV 在图片上显示中文字符,需要现将图片格式转换为 PIL.Image,在添加中文字符后,再转换回 OpenCV 格式.
4. PIL.ImageDraw 画矩形框
from PIL import Image, ImageDraw

img_pil = Image.open("test.jpg")
img_pil.show()

# 创建绘制对象
draw = ImageDraw.Draw(img_pil)

# 画直线
draw.line((x0, y0, x1, y1), color_name)
# (x0, y0, x1, y1) 为直线左上右下定点坐标(下同)
# color_name - 直线颜色

# 画矩形框
draw.rectangle((x0, y0, x1, y1), box_fill_color, box_border_color, box_border_size)
# box_fill_color - 矩形框填充颜色
# box_border_color - 矩形框边界颜色
# box_border_size - 边界框线条宽度
# 如:box_fill_color = ["red", "green", "blue", "fuchsia"]
#    box_border_color = ["maroon", "navy", "deepskyblue", "y"]
# 如:
# draw.rectangle((left, top, right, bottom), None, color, 10)
python 支持的颜色:

From: https://blog.csdn.net/guduruyu/article/details/71213717

From: https://blog.csdn.net/wjciayf/article/details/79261005